Upgrading your woodworking bandsaw can dramatically enhance both the precision and efficiency of your projects. Whether you’re a seasoned professional or a hobbyist, this investment is worthwhile.
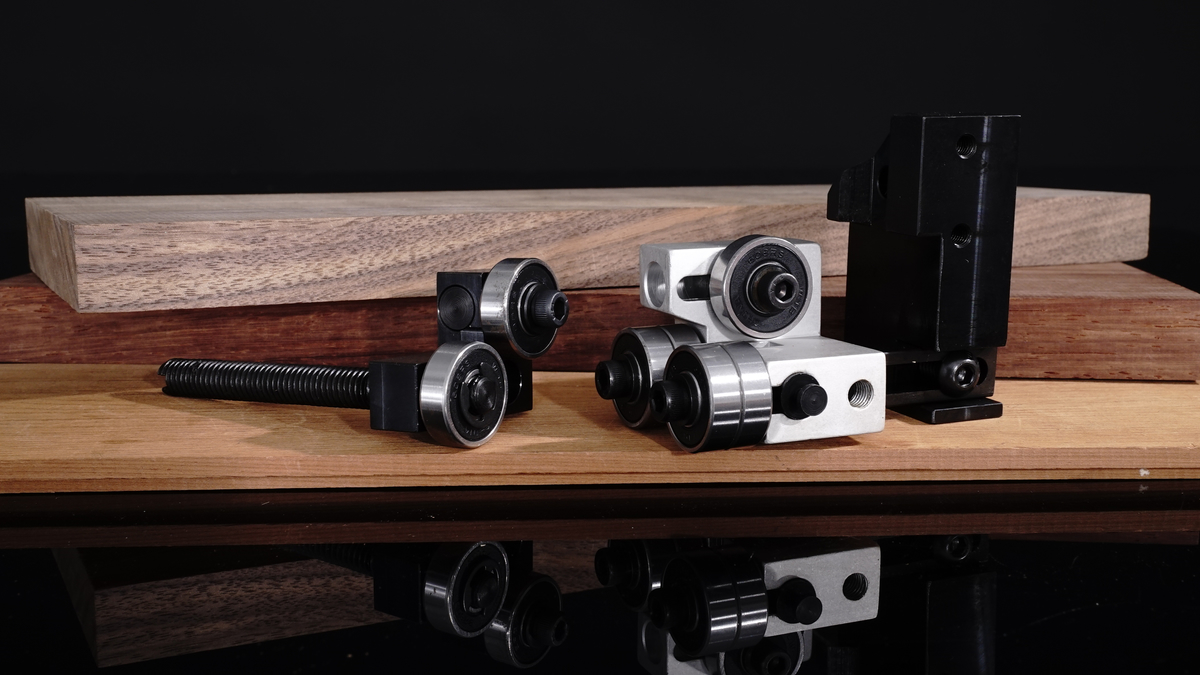
Modern upgrade kits offer features such as advanced blade guides and tensioning systems that improve accuracy, reduce blade drift, and ensure clean cuts. Enhanced motors and increased cutting capacity expand your creative possibilities and boost performance.
These improvements make the bandsaw easier to operate, enhancing your overall experience. With these upgrades, you’ll be able to take on ambitious woodworking projects with confidence.
Why Upgrade Your Bandsaw?
Before beginning the installation, consider the key reasons for upgrading your bandsaw:
- Improved Accuracy: Upgrade kits offer features that enhance cutting precision.
- Increased Capacity: Many kits allow for handling larger and more complex materials.
- Enhanced Performance: Upgraded motors, guides, and blades improve speed and efficiency.
- Ease of Use: These upgrades simplify bandsaw operation and reduce the learning curve.
Tools and Materials You’ll Need
Gather the following tools and materials before starting the installation:
Tools
- Screwdrivers (flathead and Phillips)
- Allen wrenches
- Wrenches (if needed)
- Measuring tape
- Level
- Safety goggles
- Work gloves
Materials
- Bandsaw upgrade kit (specific to your bandsaw)
- Replacement blades (if included)
- Lubricants (if recommended)

Step-by-Step Installation Process
Step 1: Safety First
Before starting, unplug the bandsaw from the power source. Wear safety goggles and work gloves to protect yourself from sharp edges and debris.
Step 2: Remove the Existing Components
Detach the Blade
- Use the correct wrench or Allen key to loosen the blade tension.
- Carefully remove the blade.
Remove the Guides
- Unscrew the upper and lower blade guides.
- Keep screws and components safe for reinstallation.
Take Off the Motor (if required)
- Follow your bandsaw manual to remove the motor carefully.
- Be cautious of wiring and connections.
Step 3: Read the Upgrade Kit Instructions
Before proceeding, review the instructions provided with your upgrade kit. These instructions are specific to your kit and bandsaw model.
Step 4: Install the New Components
Install the New Guides
- Follow the kit instructions to install and align the new blade guides.
Attach the New Blade
- Install the blade, ensuring it is correctly seated on the wheels.
- Adjust the tension using the tensioning mechanism.
Replace the Motor (if applicable)
- Install the new motor according to the instructions.
- Carefully reconnect wiring and secure connections.
Step 5: Adjustments and Calibration
Align the Blade
- Ensure the blade is aligned with the table and guides using a square for accuracy.
Set Blade Tension
- Adjust the tension according to the kit instructions.
Calibrate the Cutting Height
- Adjust the table height to suit your needs.
Test Blade Tracking
- Manually rotate the wheels and check blade tracking. Make adjustments as needed.
Step 6: Testing Your Bandsaw
Plug in the Bandsaw
- Reconnect the bandsaw and turn it on.
Run a Test Cut
- Use a scrap piece of wood to test the new setup. Check for vibrations, noises, or issues.
Fine-tune Adjustments
- Adjust guides, tension, or alignment based on the test results.
Step 7: Maintenance Tips Post-Installation
- Regularly Check Blade Tension: Ensure tension is correct during use.
- Clean the Bandsaw: Keep the workspace clean to avoid performance issues.
- Lubricate Moving Parts: Follow kit guidelines for lubrication to ensure smooth operation.
Conclusion
Installing bandsaw upgrade kits can breathe new life into your woodworking projects, making your bandsaw more efficient and versatile. By following this guide, you’ll ensure a smooth installation process, leading to more precise and enjoyable woodworking experiences.