Craftsman Bandsaw Guide Kit Installation: Tips and Tricks
In the realm of woodworking and metalworking, precision is paramount. A well-tuned bandsaw is a cornerstone of such precision, and one of the critical components influencing its accuracy is the guide system. The Craftsman Bandsaw Guide Kit is designed to enhance the functionality of your bandsaw, ensuring smoother cuts, reduced blade drift, and prolonged blade life. This essay will delve deeply into the installation process of the Craftsman Bandsaw Guide Kit, providing comprehensive tips and tricks to optimize your setup. Whether you’re a seasoned woodworker or a DIY enthusiast, understanding the intricacies of guide kit installation will elevate your bandsaw’s performance.
Components of the Craftsman Bandsaw Guide Kit
Key Components
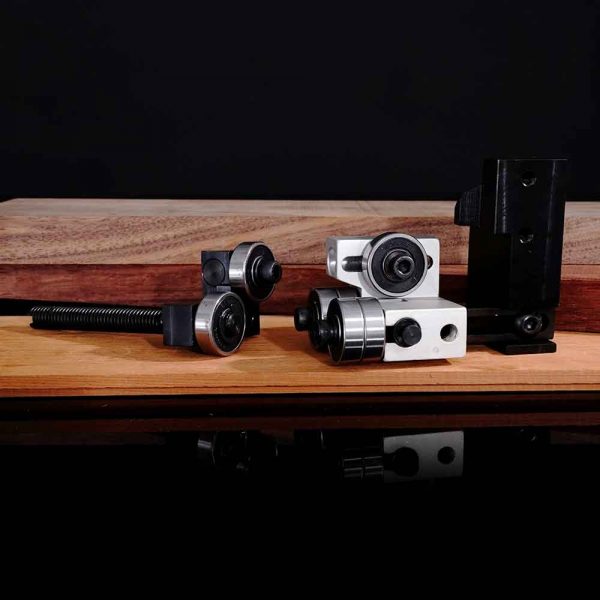
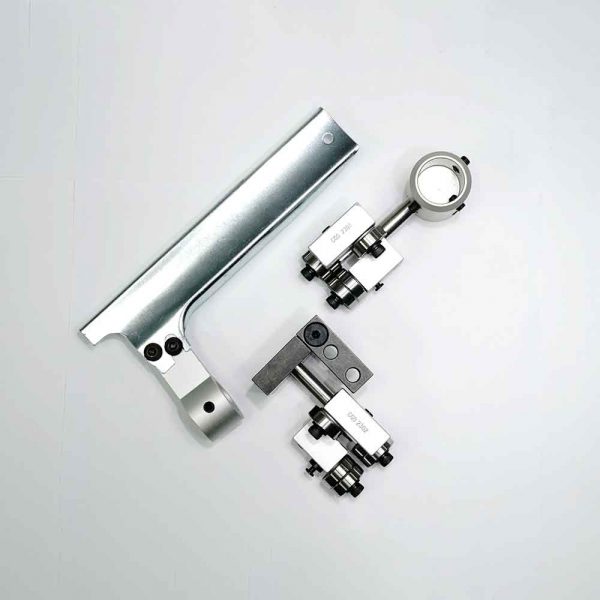
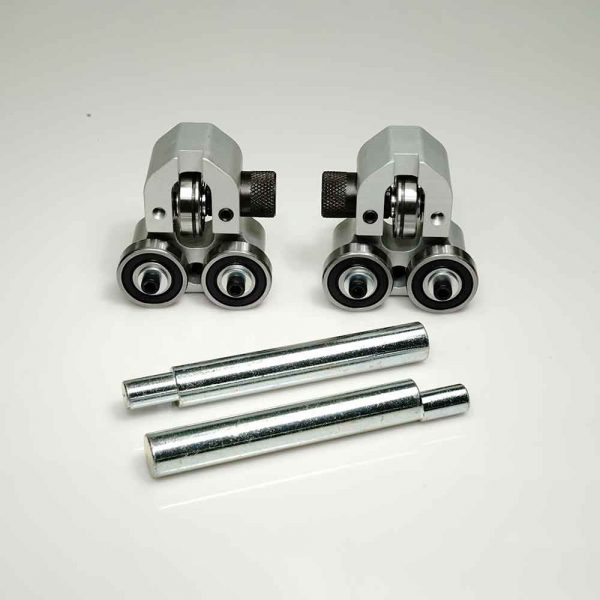
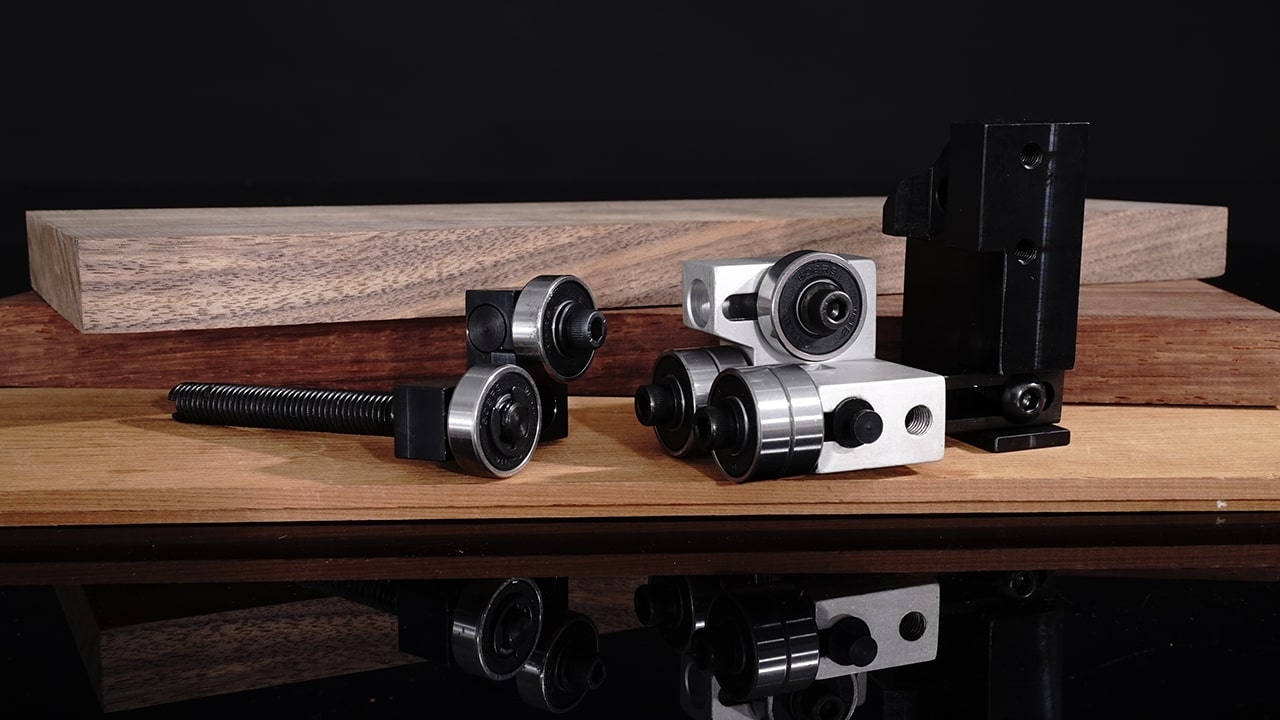
Before embarking on the installation process, it is essential to grasp the components and their functions. The Craftsman Bandsaw Guide Kit typically includes:
- Upper and Lower Blade Guides: These components stabilize the blade and minimize lateral movement.
- Guide Blocks: Often made from materials like ceramic or carbide, these blocks support the blade and ensure accurate cutting.
- Thrust Bearings: These prevent the blade from moving backward, providing stability during operation.
- Adjustment Screws and Bolts: These are used to secure and adjust the guide components.
- Mounting Hardware: Screws, bolts, and washers needed to attach the guide system to the bandsaw.
Having a clear understanding of these components will facilitate a smoother installation process and ensure each part is properly positioned.
-
Craftsman 12 inch Band Saw Model 113 Guide Conversion Kit
$179.95 -
Craftsman 18″ Guide Upgrade Kit
$219.95 -
Sears 14 Guide Conversion Kit
$169.95 -
Sears Craftsman 16″ Guide Conversion Kit
$231.26
Preparation Phase
Gathering Tools and Supplies
For a successful installation, gather the following tools and supplies:
- Screwdrivers (Flathead and Phillips)
- Allen wrenches
- Wrenches or socket set
- Hex key set
- Cleaning supplies (compressed air, cloths)
- Lubricant (optional for maintaining the bearings)
Safety Measures
Safety is paramount when working with power tools. Follow these precautions:
- Unplug the Bandsaw: Ensure that the bandsaw is disconnected from the power source to prevent accidental start-up.
- Wear Protective Gear: Safety glasses and gloves are essential to protect yourself from debris and sharp edges.
Removing the Old Guide System
Before installing the new guide kit, the existing guide system must be removed.
Upper Guide Assembly Removal
- Locate the Upper Guides: Identify the components of the existing upper guide assembly.
- Detach the Assembly: Loosen the screws or bolts holding the upper guide assembly in place. Carefully remove the old components, taking note of their arrangement for reference.
Lower Guide Assembly Removal
- Identify the Lower Guides: Locate the lower guide assembly.
- Remove the Assembly: Loosen the screws or bolts and detach the lower guide assembly.
Installing the Craftsman Bandsaw Guide Kit
Upper Blade Guide Installation
- Position the Upper Guide: Align the new upper guide assembly with the mounting holes on the bandsaw. Secure it in place using the provided screws or bolts. Leave the screws slightly loose to allow for adjustment.
- Adjust the Guide Blocks: Position the guide blocks close to, but not touching, the blade. Use the adjustment screws to fine-tune the block’s position, ensuring they are parallel to the blade.
- Install the Thrust Bearings: Position the thrust bearings behind the blade, adjusting them so they make slight contact with the blade to prevent backward movement.
Lower Blade Guide Installation
- Position the Lower Guide: Align the lower guide assembly with the mounting holes and attach it using screws or bolts. Leave the screws slightly loose for adjustments.
- Adjust the Guide Blocks: Position the lower guide blocks parallel to the blade, ensuring they are close but not touching.
- Install the Lower Thrust Bearings: Place the lower thrust bearings behind the blade and adjust them to ensure they are in slight contact.

Fine-Tuning the Guides
Proper adjustment of the guides is crucial for achieving optimal performance from your bandsaw.
Blade Centering
- Check Alignment: Ensure the blade is centered between the guide blocks. Use the guide adjustment screws to make necessary adjustments.
- Adjust Blade Tracking: Verify that the blade is properly tracked on the wheels. Misalignment can cause inaccurate cuts and excessive wear.
Blade Alignment
- Check Perpendicularity: Ensure that the blade is perpendicular to the bandsaw table. Adjust the guides if needed to maintain this alignment.
- Parallel Guides: The guides should be parallel to the blade to prevent drift and ensure straight cuts.
Clearance Check
- Blade Proximity: The guide blocks should be close to the blade but not touching it. There should be minimal lateral movement of the blade within the guides.
Testing and Troubleshooting
Common Installation Issues
- Blade Drift: Recheck alignment and centering of the blade. Ensure that the guide blocks are parallel and adjust if necessary.
- Excessive Vibration: Tighten all screws and check for proper alignment. Loose components or misaligned guides may cause vibration.
- Uneven Cuts: Ensure guides are set correctly and the blade is sharp. Incorrect blade tension could also cause uneven cuts.
Maintenance Tips for Optimal Performance
- Regular Cleaning: Keep the guide blocks and thrust bearings clean for smooth operation.
- Lubrication: Periodically lubricate the bearings to reduce friction and wear.
- Periodic Checks: Inspect the alignment and condition of the guides regularly to maintain optimal performance.
Conclusion
Installing a Craftsman Bandsaw Guide Kit is a rewarding process that can significantly enhance your bandsaw’s performance. By understanding the components, preparing adequately, and following detailed installation steps, you can achieve precise and reliable cuts. Proper testing, troubleshooting, and maintenance will ensure your bandsaw remains in excellent working condition.
Tools and Components Required for Installation
| Tool/Component | Purpose |
|---|---|
| Upper and Lower Guides | Stabilize the blade and minimize movement |
| Guide Blocks | Support blade and ensure accuracy |
| Thrust Bearings | Prevent blade from moving backward |
| Allen Wrenches | Adjust screws for guides |
| Hex Key Set | Handle specific screws |

